Okay, okay. I know I said I had lost my steam with the whole decorating thing, but something inside me snapped the other day. Suddenly, all those blank walls needed to be filled, and though I was stuck at home with only myself and whatever random supplies I could find, I was going to put things on the walls!
First project: The Craft Room Side of the "Study"
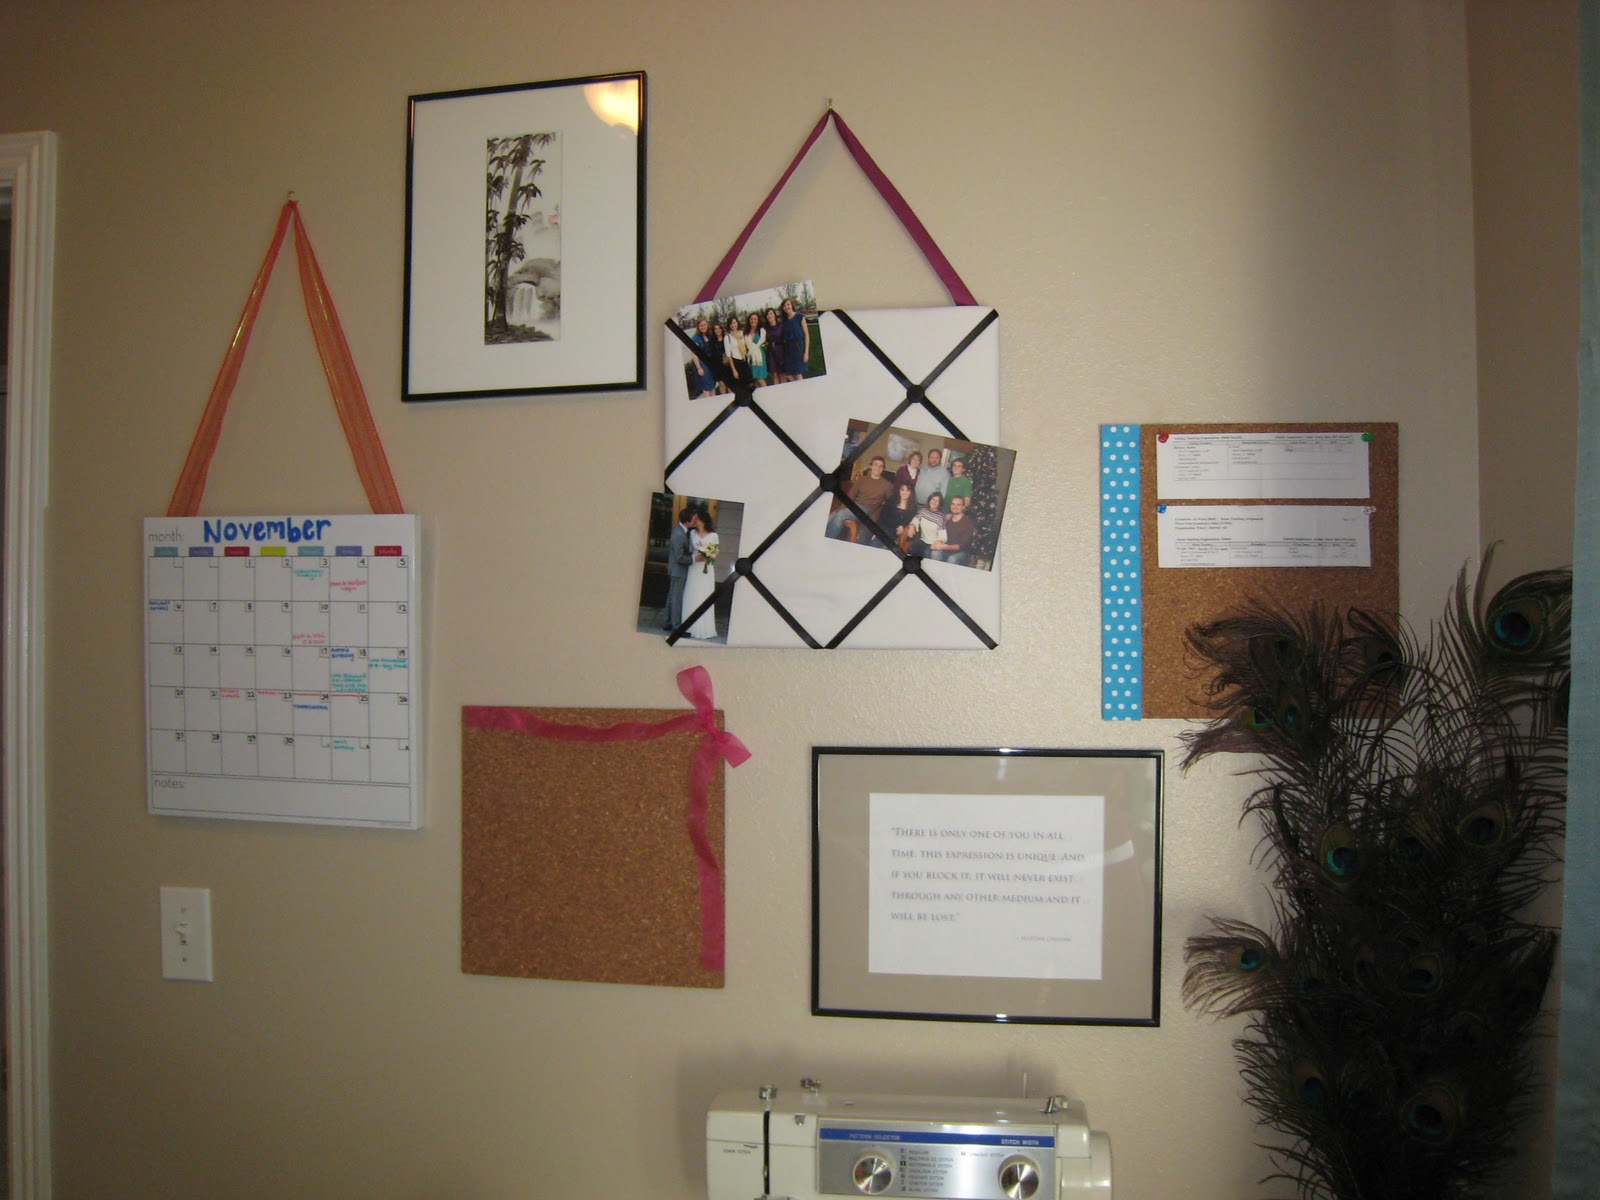
I hot-glued some ribbon to the calendar and picture boards and nailed up some hooks! I also hot-glued some ribbon to the otherwise plain-and-boring cork-boards. I think they look much better. Finally, hung a framed picture that was sitting in our closet, and printed off a quote from Martha Graham about creativity.
Project Next: The First Glance Wall
This is the first wall you see when you walk in the apartment. We had a vision of large black and whites on canvas...but alas, it was too expensive. So one day, I decided I would do whatever it took to decorate that wall. I happen to have 6 pieces of photo paper, one old printer in storage that still had black ink in it ( we have a new printer, it is just currently out of black in), some hemp, clothespins, and tacks. It's not the most impressive display, but for now, it will do.
Project Final: The Kitchen Wall
This project took a little more work. I went to D.I. (thrift store) hoping to find a lamp for our bedroom. I found no lamps, but I did find lots of plates. I spent several minutes going through all the stacks and finding the prettiest and best ones. All 23 plates cost $14.00. The plate hangers, however, were not nearly as cheap.
When I first told Aaron months ago that I wanted to hang plates on the wall, he was never very enthusiastic. Once he saw all these plates laid out in the floor how I wanted them, he told me that when I mentioned putting plates on the wall, he thought I was crazy. He imagined three plates nailed in a line about eye-level and that was it. He soon caught on to my real vision.
Only a few more blank walls left!
Showing posts with label diy project. Show all posts
Monday, October 31, 2011
blank walls be gone
Labels:
arts and crafts,
decorating,
diy project,
home
Location:
Provo, UT, USA
Monday, August 29, 2011
crate shelf
We were worried when we moved in about what to do around the TV. Since we were used to really low ceilings in our basement apartment, the idea of vaulted ceilings seemed to mean miles of empty space to fill.
We thought about standing bookshelves, but they are expensive.
We thought about pictures, but it seemed strange to put big pictures above a TV that would have lots of pictures on it when in use.
So what to do with the void?
The answer came through a Google search, of course. Here is my inspiration.
Cute, right? I wanted to give it a try, but I was worried that I wouldn't be able to get the same effect.
First I found crates. There were only 6 at the store, but that seemed about right for the space we had.
Then we spray painted the crates. It was an antiquey vanilla color, so you can't tell too much by the pictures.
Next we played around with a LOT of configuration options. This is the one we liked the best.
With lots of care and planning, box by box we drilled, measured, drew, drilled again, screwed and voila! Custom designed bookshelves.
Now to find little things to put on the shelves...
Monday, August 22, 2011
dresser
A few months after Aaron and I got married, my cousin Leanna was moving and donated her old dresser to us. We were very grateful, because up until that point I believe we were storing all of our unhung clothes on a worn down bookshelf--which basically meant piles and piles of t-shirts spilling everywhere.
With our recent move to a new apartment, we wanted to upgrade the old, two-toned dresser. I read lots and lots of things online about painting veneer furniture. Lots of people were total skeptics, but since we found at least a few people who did go through with it, we decided to cast sail and try our luck.
Step one: Sand. Grandpa had a pretty powerful electric sander in his work room that Aaron used. Though with the first layer of primer we could really tell the sanded areas from the non-sanded areas, I'm pretty sure the main purpose of sanding was to prepare the surface to adhere to the primer. Aaron started our really thoroughly sanding, then he got more and more lax about it. Luckily, it really didn't matter in the end.
Step two: Primer. Two coats. It looked better already.
Step three: Paint! We went with "Weeping Willow". Yet again, two coats.
Step four: Rub-on Varnish.
Step five: New hardware.
We are pretty pleased. And yes, that is our new apartment in the background. More pictures to come once things are actually put away.
Subscribe to:
Posts (Atom)


